Aerospace Engineering Software
Drive the future of aircraft design and manufacture with next generation aerospace engineering software for digital manufacturing.
Building the aircraft of tomorrow with the aerospace engineering software of today.
Transform your aerospace manufacturing with 3D scanning and additive manufacturing software tools tailored to address highly regulated, aerospace industry challenges.
Additive manufacturing in the aerospace industry
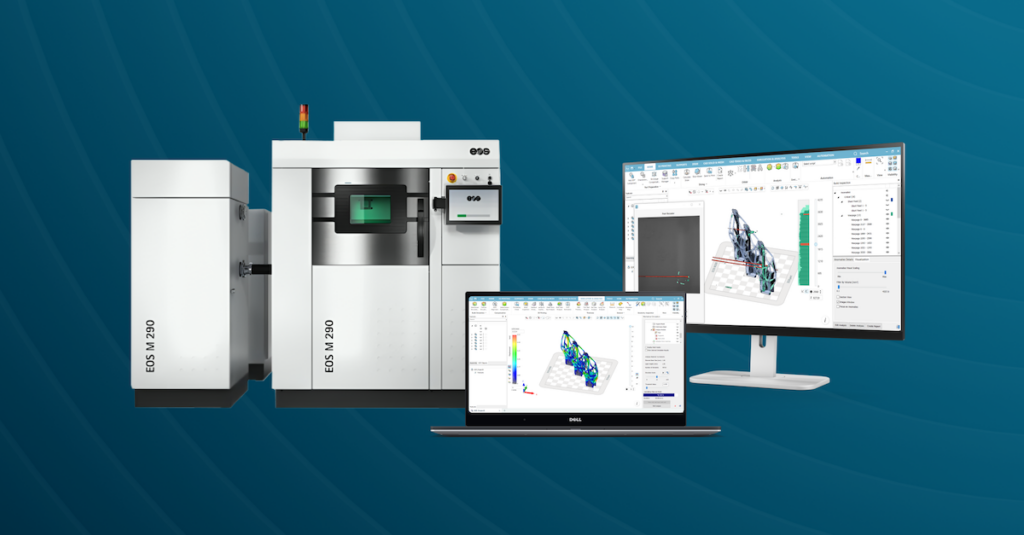
Additive manufacturing, or 3D printing, has become an increasingly popular method for aerospace companies to produce both prototypes and components at production scale. By using 3D printing software, aerospace companies are able to produce components quickly and cost-effectively. Allowing for greater design freedom and creativity, Industrial additive manufacturing is becoming the technology of choice for many innovative aerospace companies.
3D Printing software for aerospace applications include:
- Design and build aerospace components, such as brackets, faster, stronger & lighter than other methods.
- Manufacture custom fixtures, jigs and tooling.
- Design and manufacture complex functional structures for applications such as heat exchangers.

Key Applications
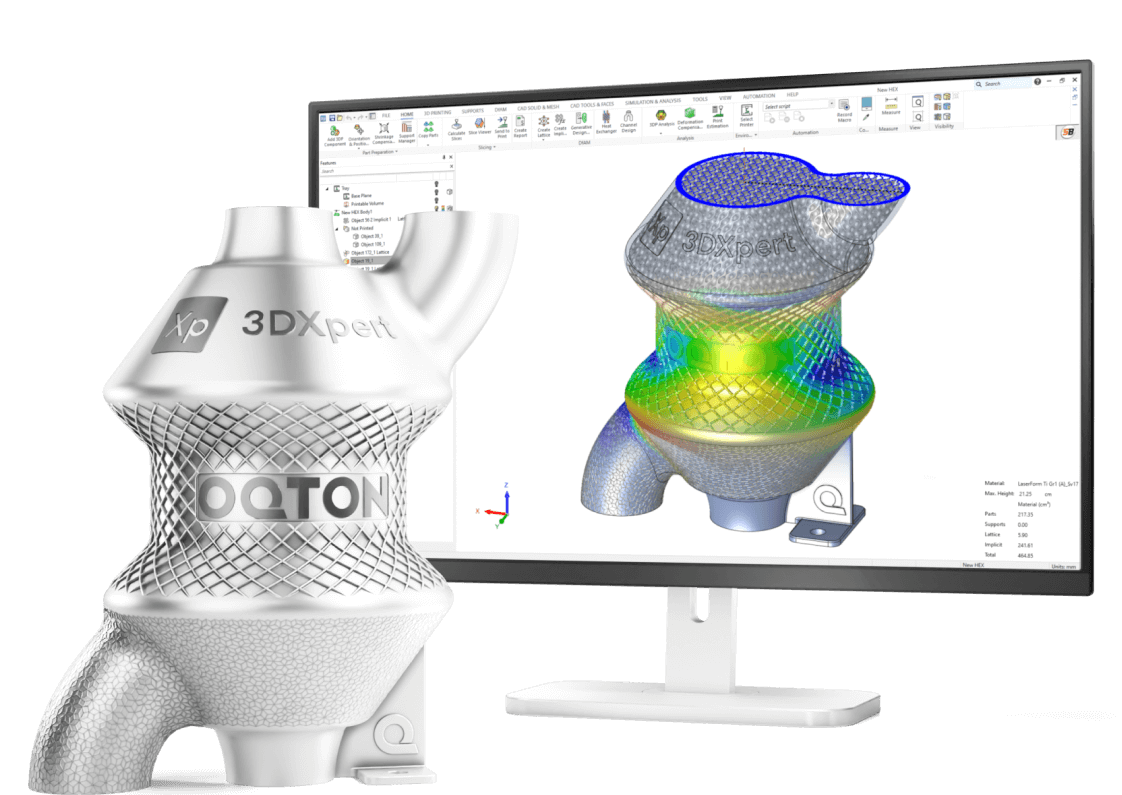
Heat Exchanger
Use DfAM to design your next generation heat exchanger with design freedom to enhance the thermal performance
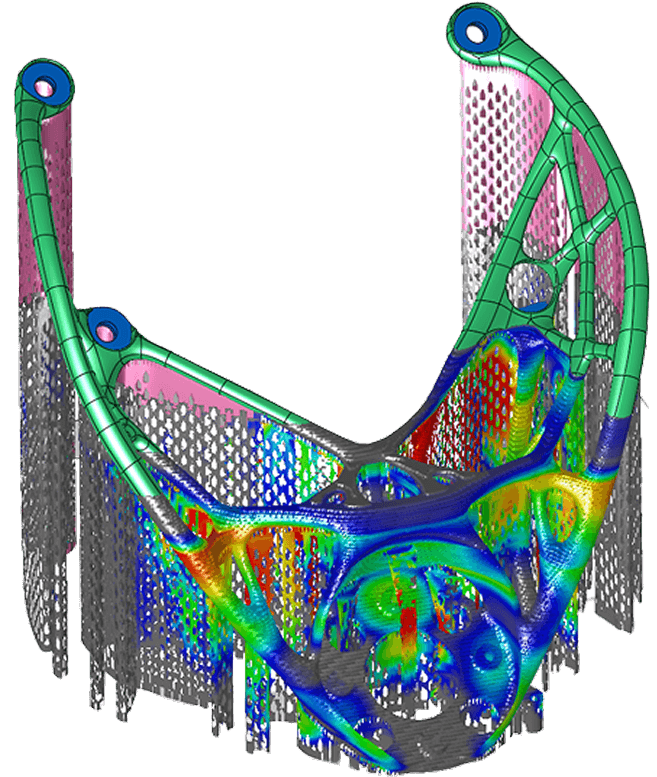
Generative Design for Brackets
Use Generative design to light weight your parts based on effective functional and machine constraints to achieve light weight Parts
Don’t take our word for it!
Have a look at how successful our customers are
FAQ
What is aerospace engineering software?
How does our aerospace engineering software work?
Why partner with Oqton?
Why should you use Oqton’s aerospace engineering software solutions?
Our additive manufacturing solutions enable you to create complex geometries with higher precision and accuracy than ever before.
We also employ cutting-edge AI and machine learning technologies to improve the quality and accuracy of your aerospace designs. Together, our solutions will help you maximize efficiency and cost-effectiveness for your aerospace engineering projects.
Is the software compatible with industry-standard file formats?
Can Oqton’s software be integrated with my existing manufacturing systems?
How much does Oqton’s aerospace engineering software cost?
Can Oqton’s aerospace engineering software solutions integrate with my existing software and hardware?
What are the key features of Oqton’s aerospace engineering software solutions?
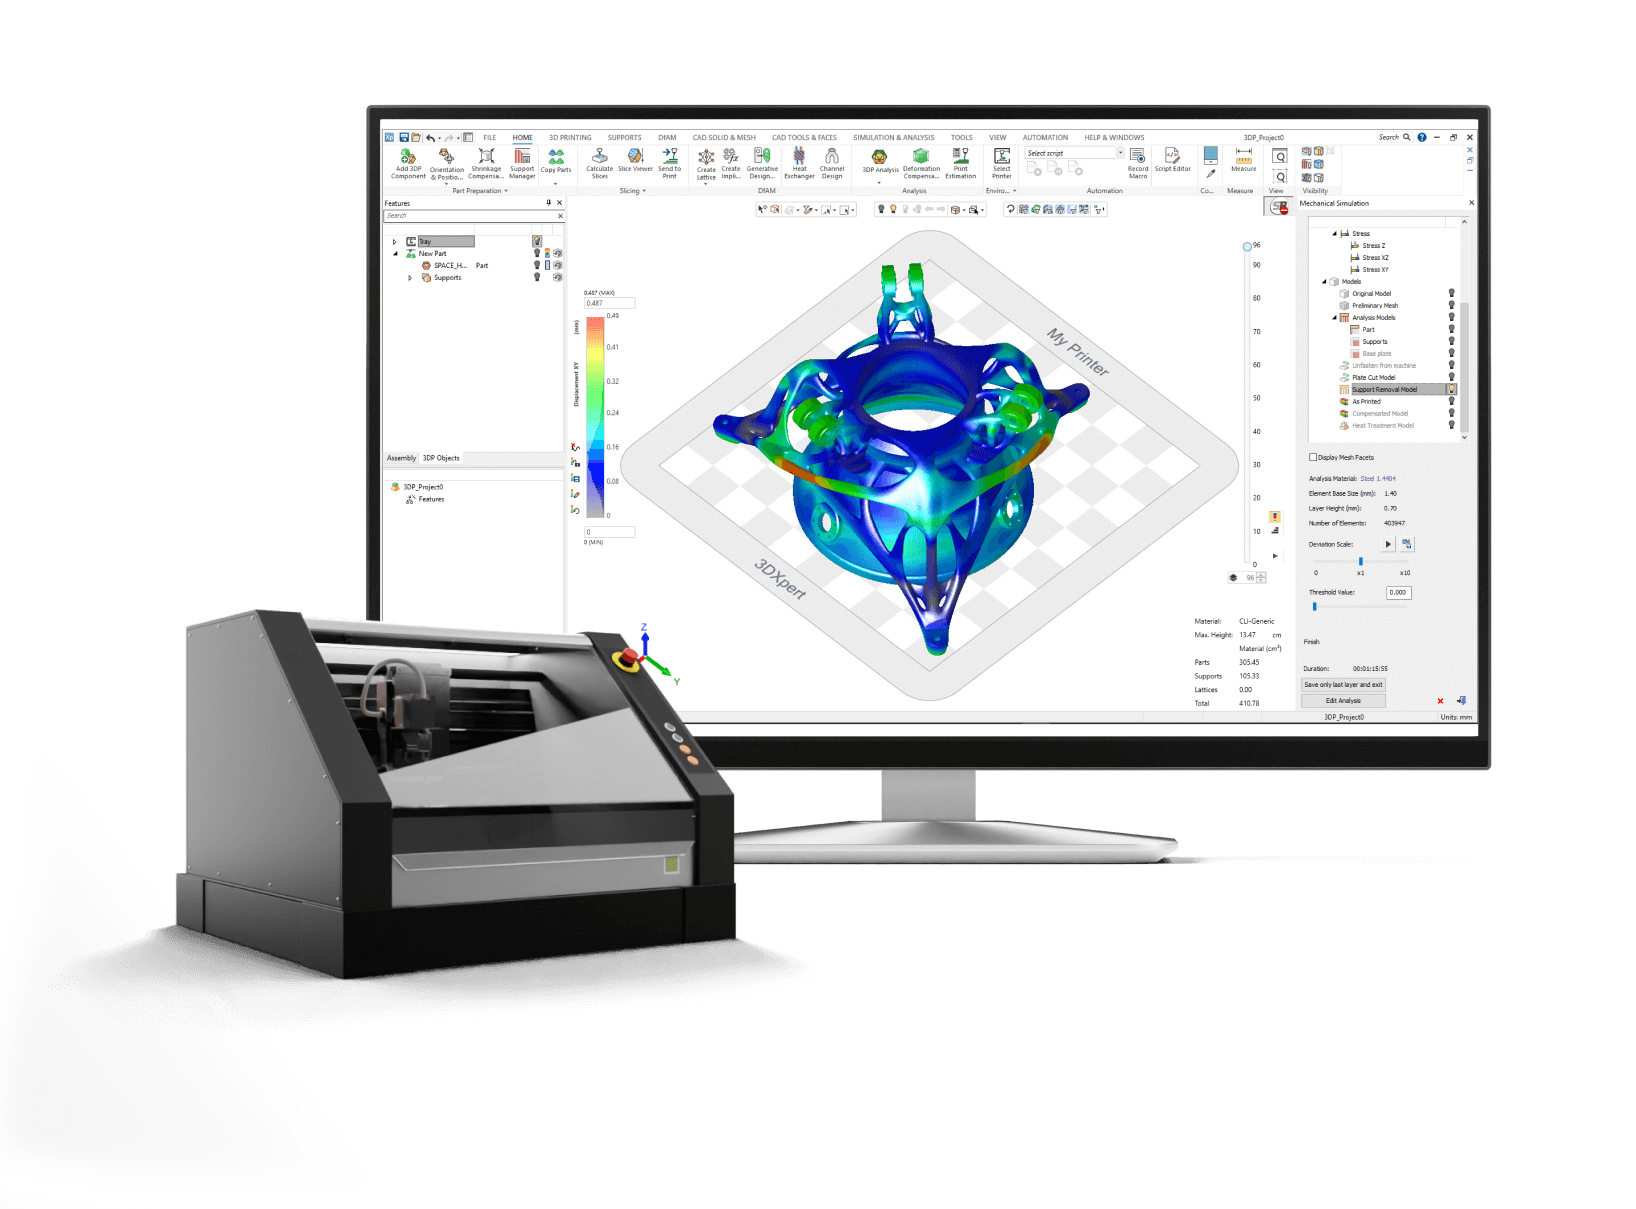
- 3DXpert – All-In-One Industrial Additive Manufacturing Software
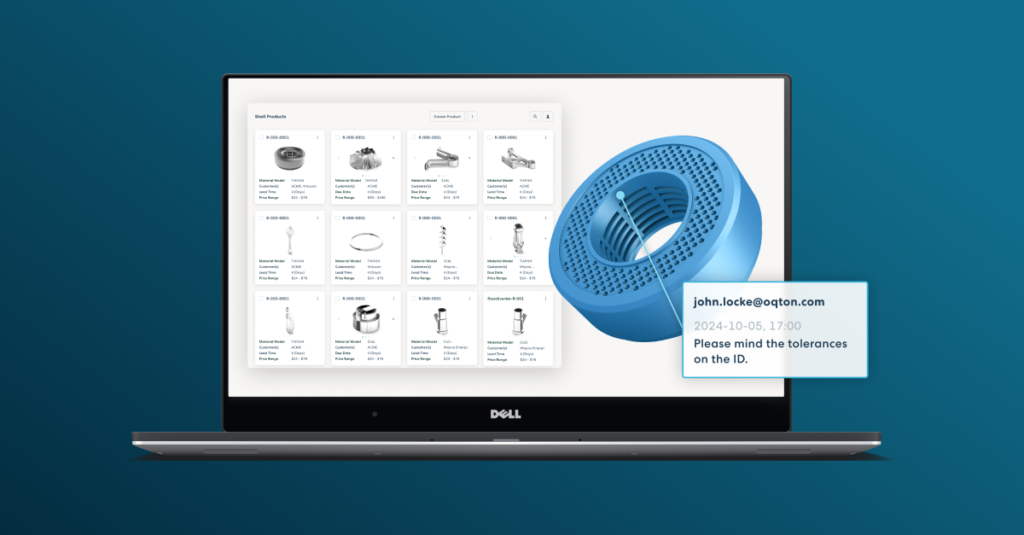
- Manufacturing OS – Intelligently automate your production with a manufacturing operating system
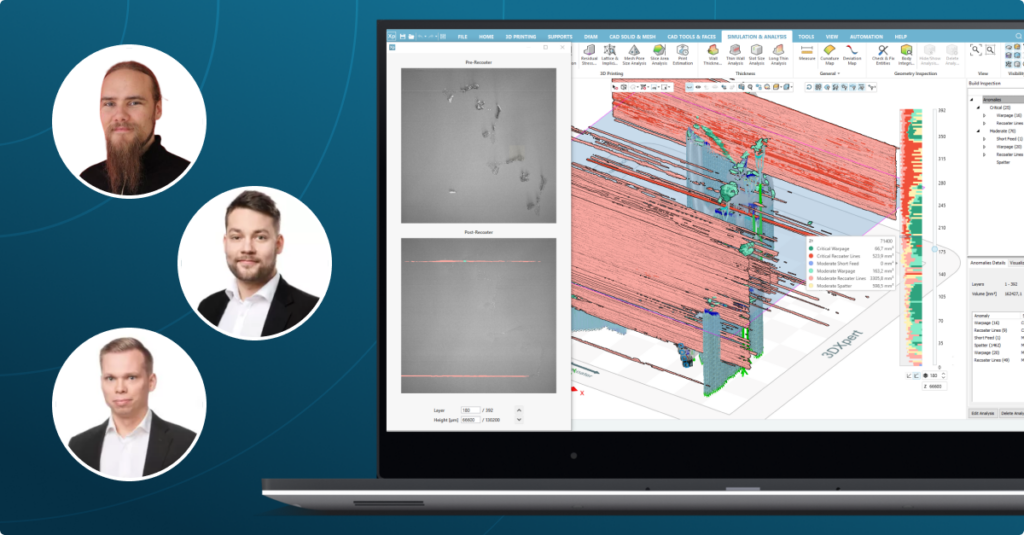
- AMVero – Build Monitoring using AI/ML over InSitu images
Is the software scalable for small and large aerospace engineering projects?
Does Oqton aerospace engineering software comply with industry standards?
Oqton’s cloud solution is SOC2 and NIST 800-171 compliant. It is also compliant with GDPR. Upon request, we are happy to provide all the necessary approvals and certifications.
Request A Demo
"*" indicates required fields
